
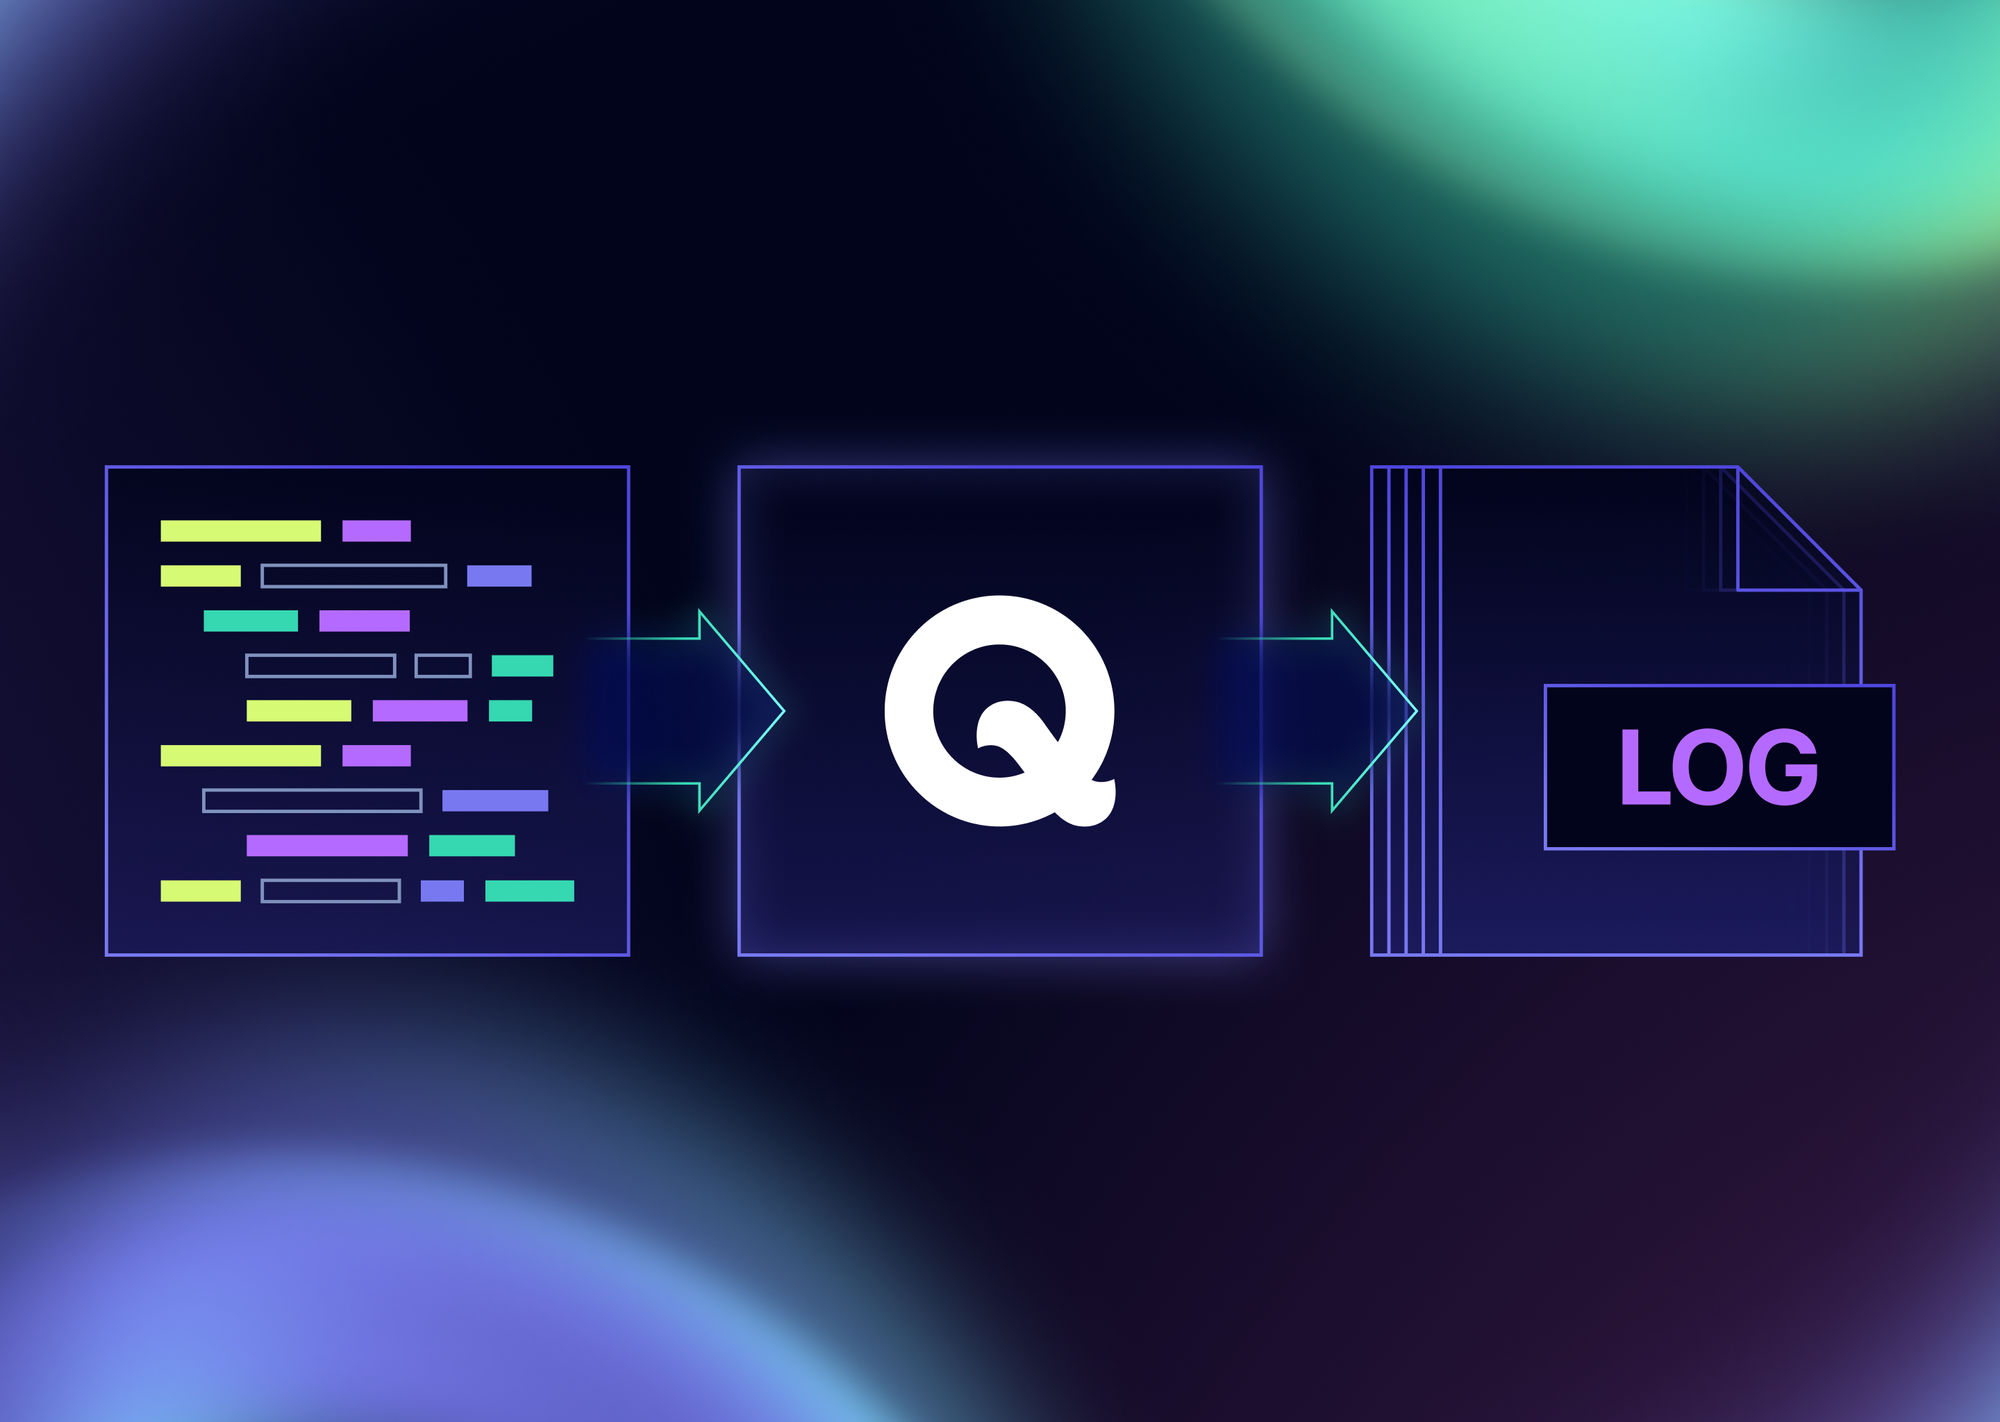
Introduction
In modern software development, tests often interact with external APIs and services via HTTP requests. To effectively debug and analyze test scenarios, it’s crucial to have full visibility into all network interactions. Qase provides a powerful tool, the Network Profiler, which automatically intercepts and logs all HTTP requests and responses in your tests. This mechanism is based on the Monkey Patching technique.
What Is Monkey Patching
Monkey Patching is a technique for dynamically modifying code behavior at runtime by replacing methods or functions with custom implementations.
In the context of Network Profiler, this means overriding the standard HTTP request methods from the requests and urllib3 libraries with custom wrappers that add logging functionality.
So, what are the benefits of intercepting HTTP requests in tests?
You automatically get detailed logs of all network interactions, which greatly simplifies debugging and analysis. Here are the key benefits of using the Network Profiler:
- Full Visibility: See all requests and responses, including headers and bodies
- Automatic Logging: No need to manually log each HTTP call. Every request is added to the Qase report as a separate step
- Error Debugging: When requests fail (status ≥ 400), the profiler automatically saves details of the request and response
- Performance Analysis: Track request execution time
Usage Examples
Let’s see how to use the Network Profiler with Pytest.
Suppose we have a simple test that performs an HTTP request to an external API using the requests library.
To display the results in Qase, we first need to install and configure the Qase Pytest reporter. We won’t go into setup details here, as they are already covered in our documentation.
Here’s an example test that performs an HTTP request:
import requests


def test_get_animal_by_id():
    # Request information about an animal from our favorite pet store
    response_get = requests.get("https://petstore.swagger.io/v2/pet/1")
    assert response_get.status_code == 200
Now, let’s run the test and check the results in Qase.
To execute the test, simply run:
pytest ./tests
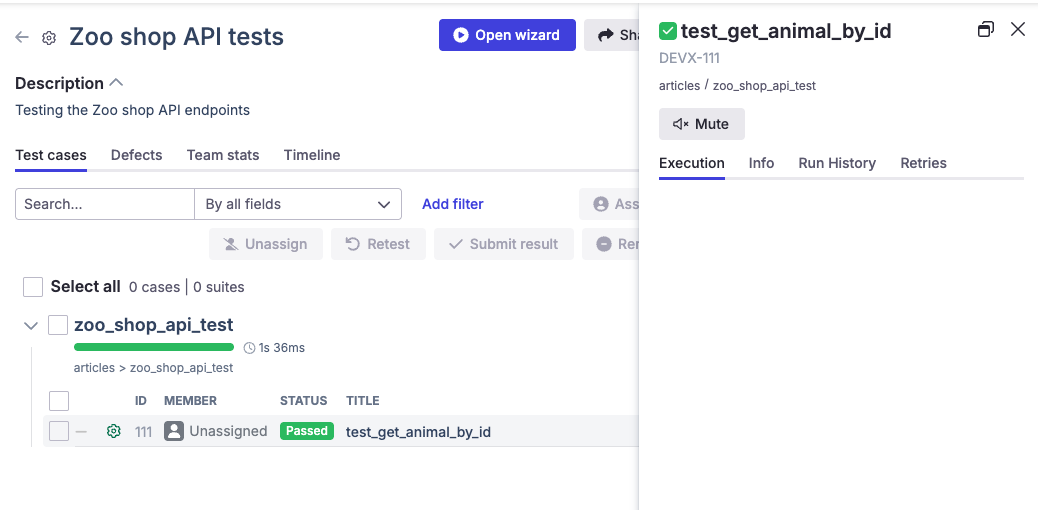
After successfully uploading the results to Qase, you’ll see that our test appears in the test run, but without any additional information.
Now let’s enable the Network Profiler to intercept requests.
To do that, add the following lines to your qase.config.json file:
{
    "mode": "testops",
    "profilers": ["network"],
    "testops": { /* Qase connection settings */ }
}
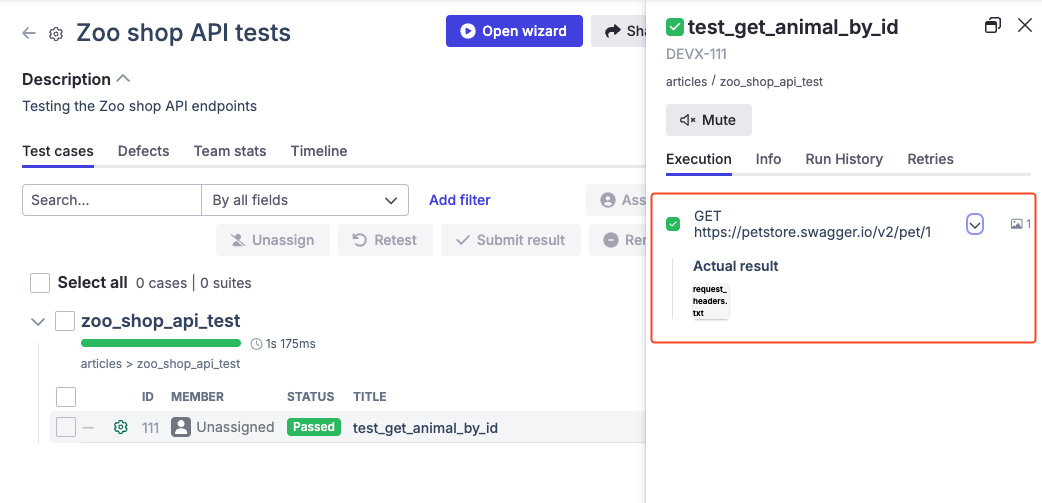
Run the test again, and after uploading the results to Qase, you’ll see that the test now contains steps with attachments showing request headers and other details.
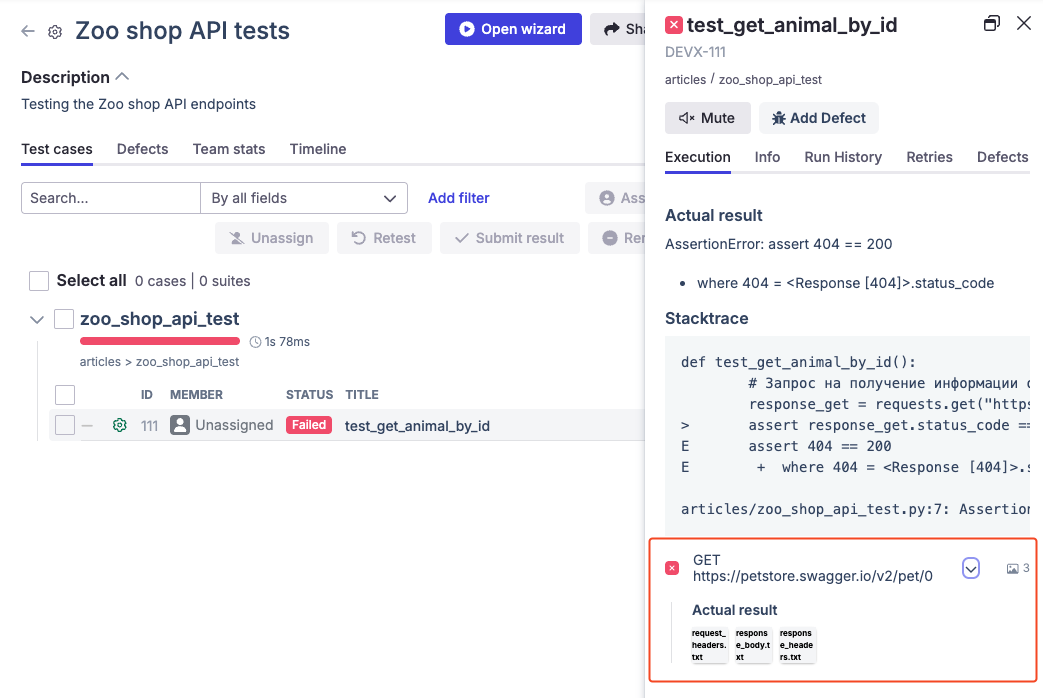
Now, let’s intentionally use an invalid value to see how the Network Profiler helps with debugging.
We’ll change the ID to a non-existent one:
import requests


def test_get_animal_by_id():
    # Request information about an animal from our favorite pet store
    response_get = requests.get("https://petstore.swagger.io/v2/pet/0")
    assert response_get.status_code == 200
After running the tests and uploading the results to Qase, we’ll see that the test failed, and the report now contains full details of the request and response — including request and response headers, as well as the response body.
Currently, the Network Profiler supports the following libraries for HTTP request interception:
- requests: All
requests.Session.send()methods - urllib3:
urllib3.PoolManager.request()methods
Conclusion
Intercepting HTTP requests using the Network Profiler in Qase greatly simplifies debugging and test analysis by providing full visibility into all network interactions.
The use of Monkey Patching enables automatic logging of all requests and responses without requiring any changes to existing test code.
This is a powerful tool for developers and testers looking to improve the quality and reliability of their test scenarios.
Try using the Network Profiler in your tests and experience its benefits firsthand!

