

Playwright, a powerful end-to-end testing framework developed by Microsoft, offers an array of features such as automatic waiting, screenshot capture, and video recording. By combining the capabilities of Qase with Playwright, you can streamline your testing workflow and enhance your test management capabilities.
In this guide, we will walk you through the steps to integrate Qase with Playwright using the Qase reporter for a seamless test automation experience. This guide assumes you have basic knowledge of JavaScript and Playwright.
Qase Playwright integration
Qase provides a REST API that enables integration with various tools and frameworks including TestNG, JUnit, Cucumber, Playwright, Cypress, Pytest, and Robot Framework. For other integrations and reporters, see Qase’s GitHub.
Why Playwright?
Playwright is a modern framework for testing web applications, featuring capabilities that make it ideal for comprehensive testing. It supports automatic waiting, screenshot capture, and video recording, which are crucial for robust end-to-end testing.
At Qase, we use Playwright to handle our own E2E and API tests, taking advantage of its strengths to ensure thorough and reliable test coverage.
Getting Started with Playwright in Qase
Let’s dive into the integration process.
- Install dependencies
- Write a simple Playwright test
- Obtain a Qase API Token and create a Qase project
- Configure the reporter to send results to Qase
Install dependencies
We’ll start by setting up our project and installing the necessary dependencies:
npm install @playwright/test
npm install playwright-qase-reporter
npx playwright install chromium
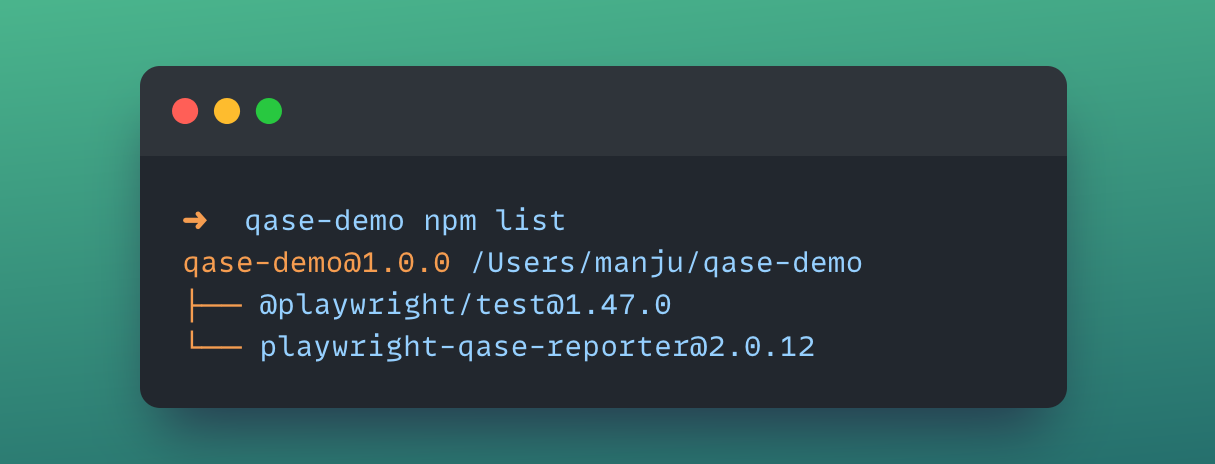
To confirm that the packages are installed, run:
You should see an output similar to this.
Write a simple Playwright test
Next, let's create a basic Playwright test, which will verify the page title for Qase.io.
const { test, expect } = require('@playwright/test');
test('Test Qase - Playwright Integration', async ({ page }) => {
await page.goto('https://qase.io/');
expect(await page.title()).toBe('Qase | Test management software for quality assurance');
});
By default, Playwright looks for test files in the tests/ directory. Save the code above in a file named example.spec.js inside the tests/ directory.
Obtain a Qase API token and create a Qase project
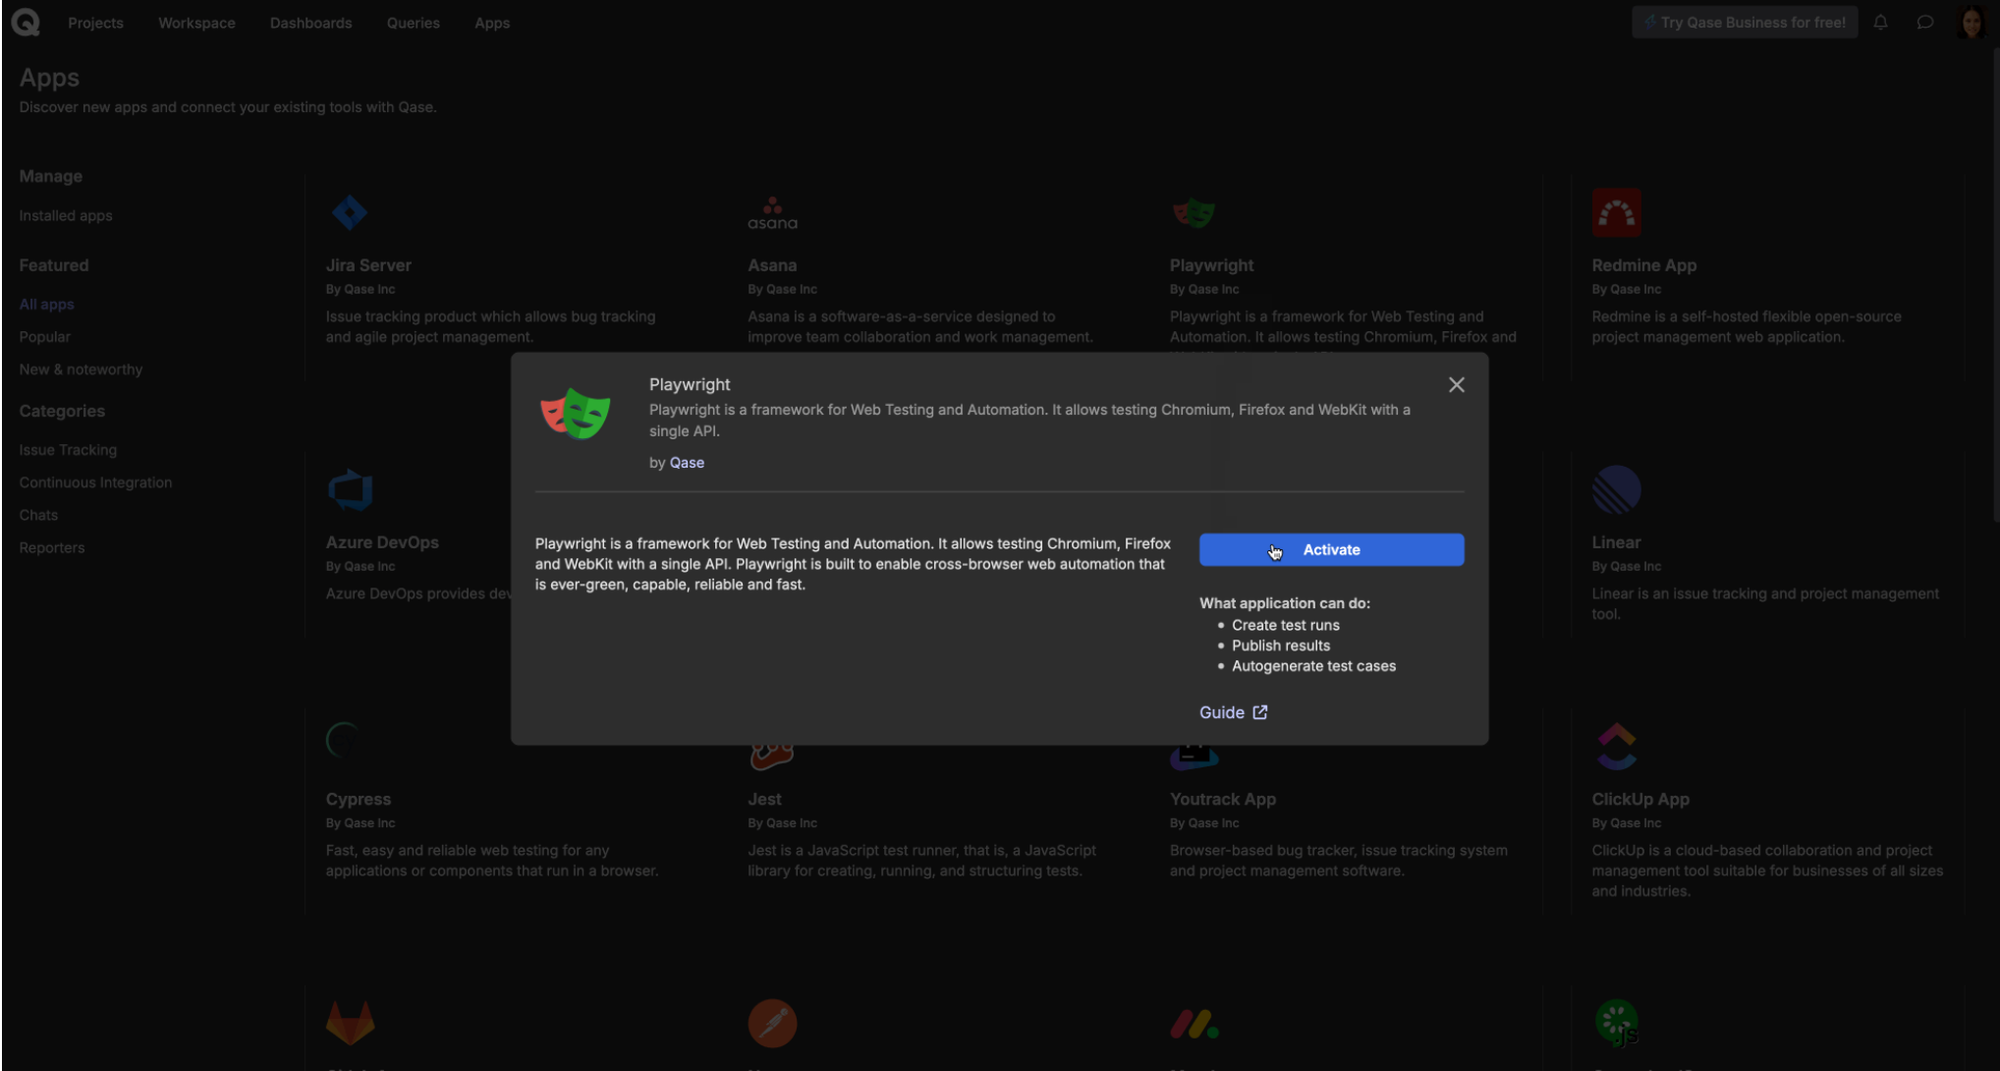
To collect test results, you need a Qase API token. Navigate to the Apps section in your Qase workspace and generate a token from the Access Tokens tab.
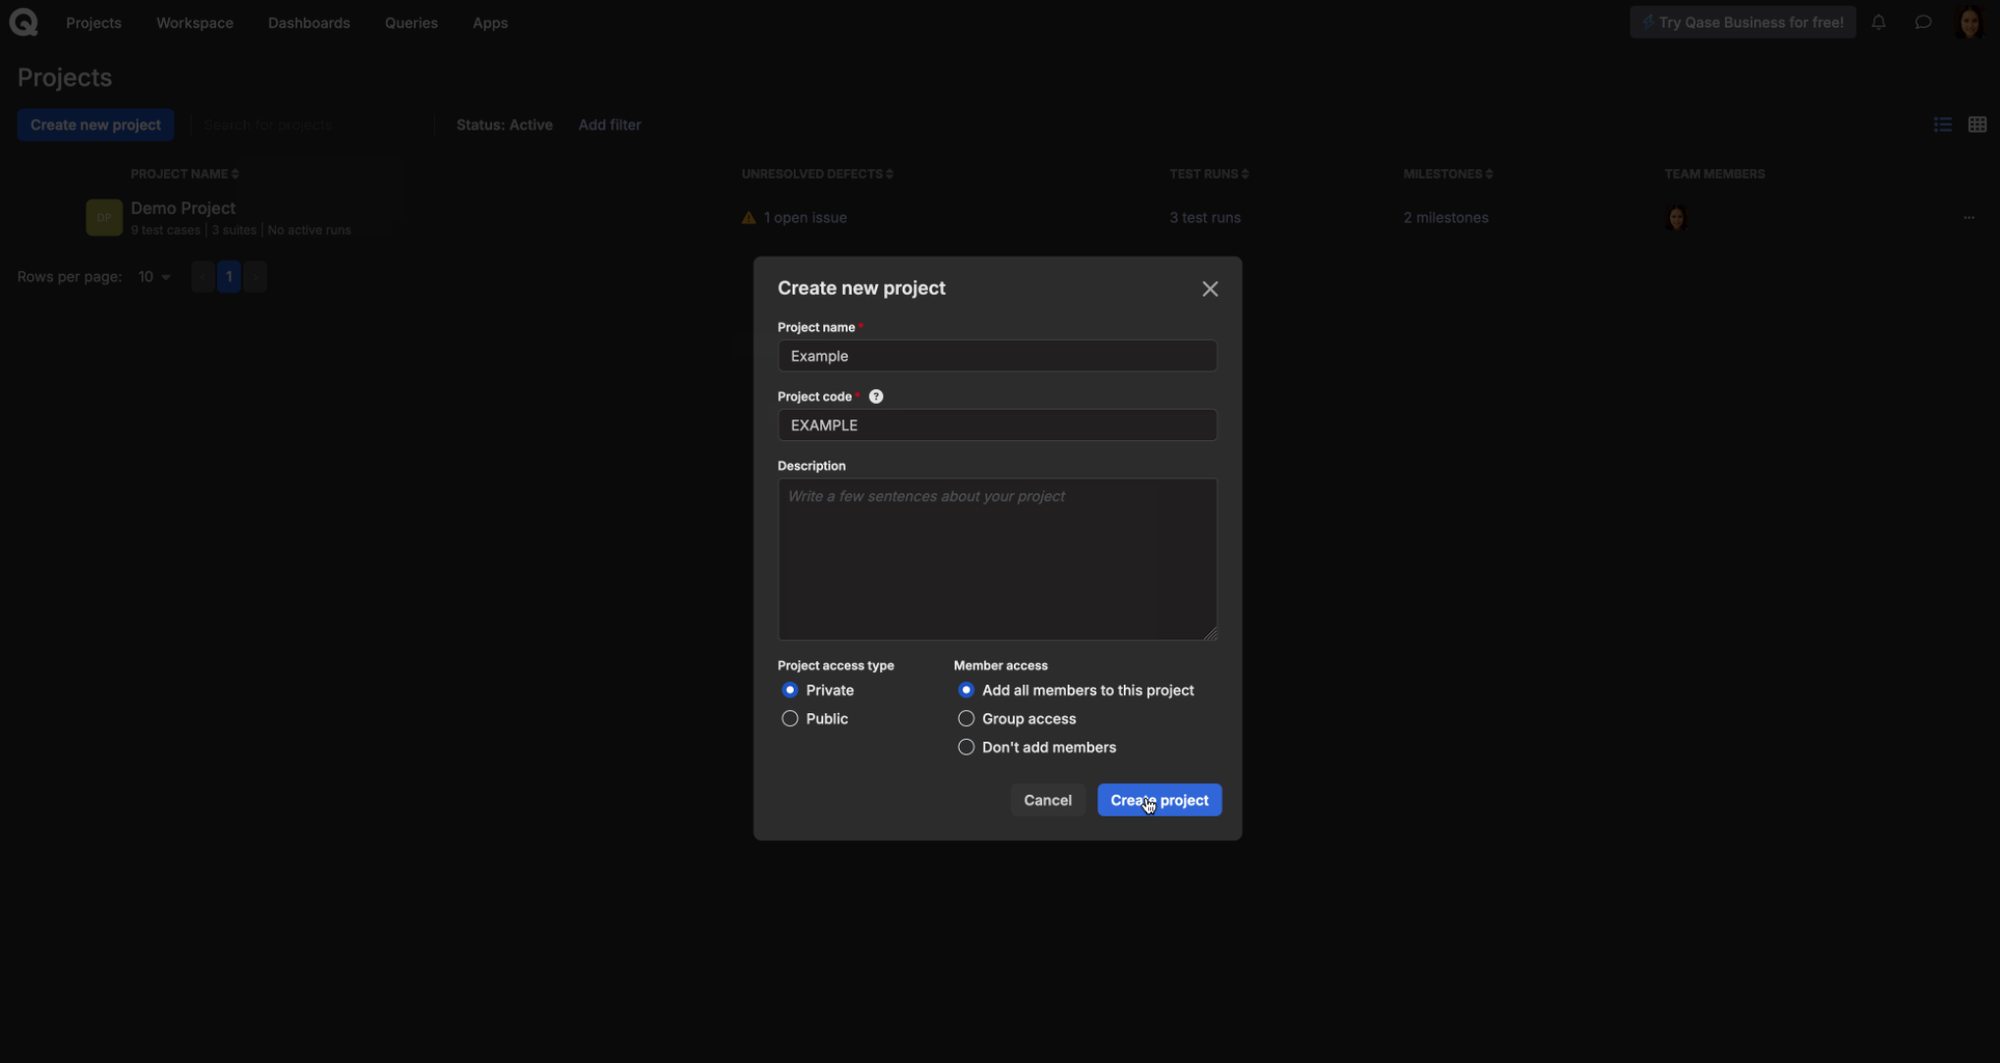
Projects in Qase are containers for all of your tests, runs, and defects. Each project can have a different set of custom fields and distinct workflows.
We will use the demo project in Qase to aggregate the results of our Playwright test runs. You can also create a new project, but make sure to save the project code for use in the reporter configuration.
Configure the reporter to send results to Qase
Create a playwright.config.js file at the project root and add the following configuration:
const config = {
use: {
screenshot: 'only-on-failure',
video: 'retain-on-failure',
},
reporter: [
['list'],
[
'playwright-qase-reporter',
{
mode: 'testops',
debug: false,
testops: {
api: {
token: '<playwright-app-token>',
},
project: 'DEMO', // Replace <DEMO> with your project code
uploadAttachments: true,
run: {
complete: true,
},
},
},
],
],
};
module.exports = config;
Run your test
You’re ready! Run your test with this command:
npx playwright test
Viewing results in Qase
Upon completion, a direct link to the Qase test run will be provided.
![Screenshot of output text [INFO] qase: Run 1 completed [INFO] qase: Test run link: https://app.qase.io/run/DEMO/dashboard/1](https://d36r73waboa44k.cloudfront.net/2024/09/image5.png)
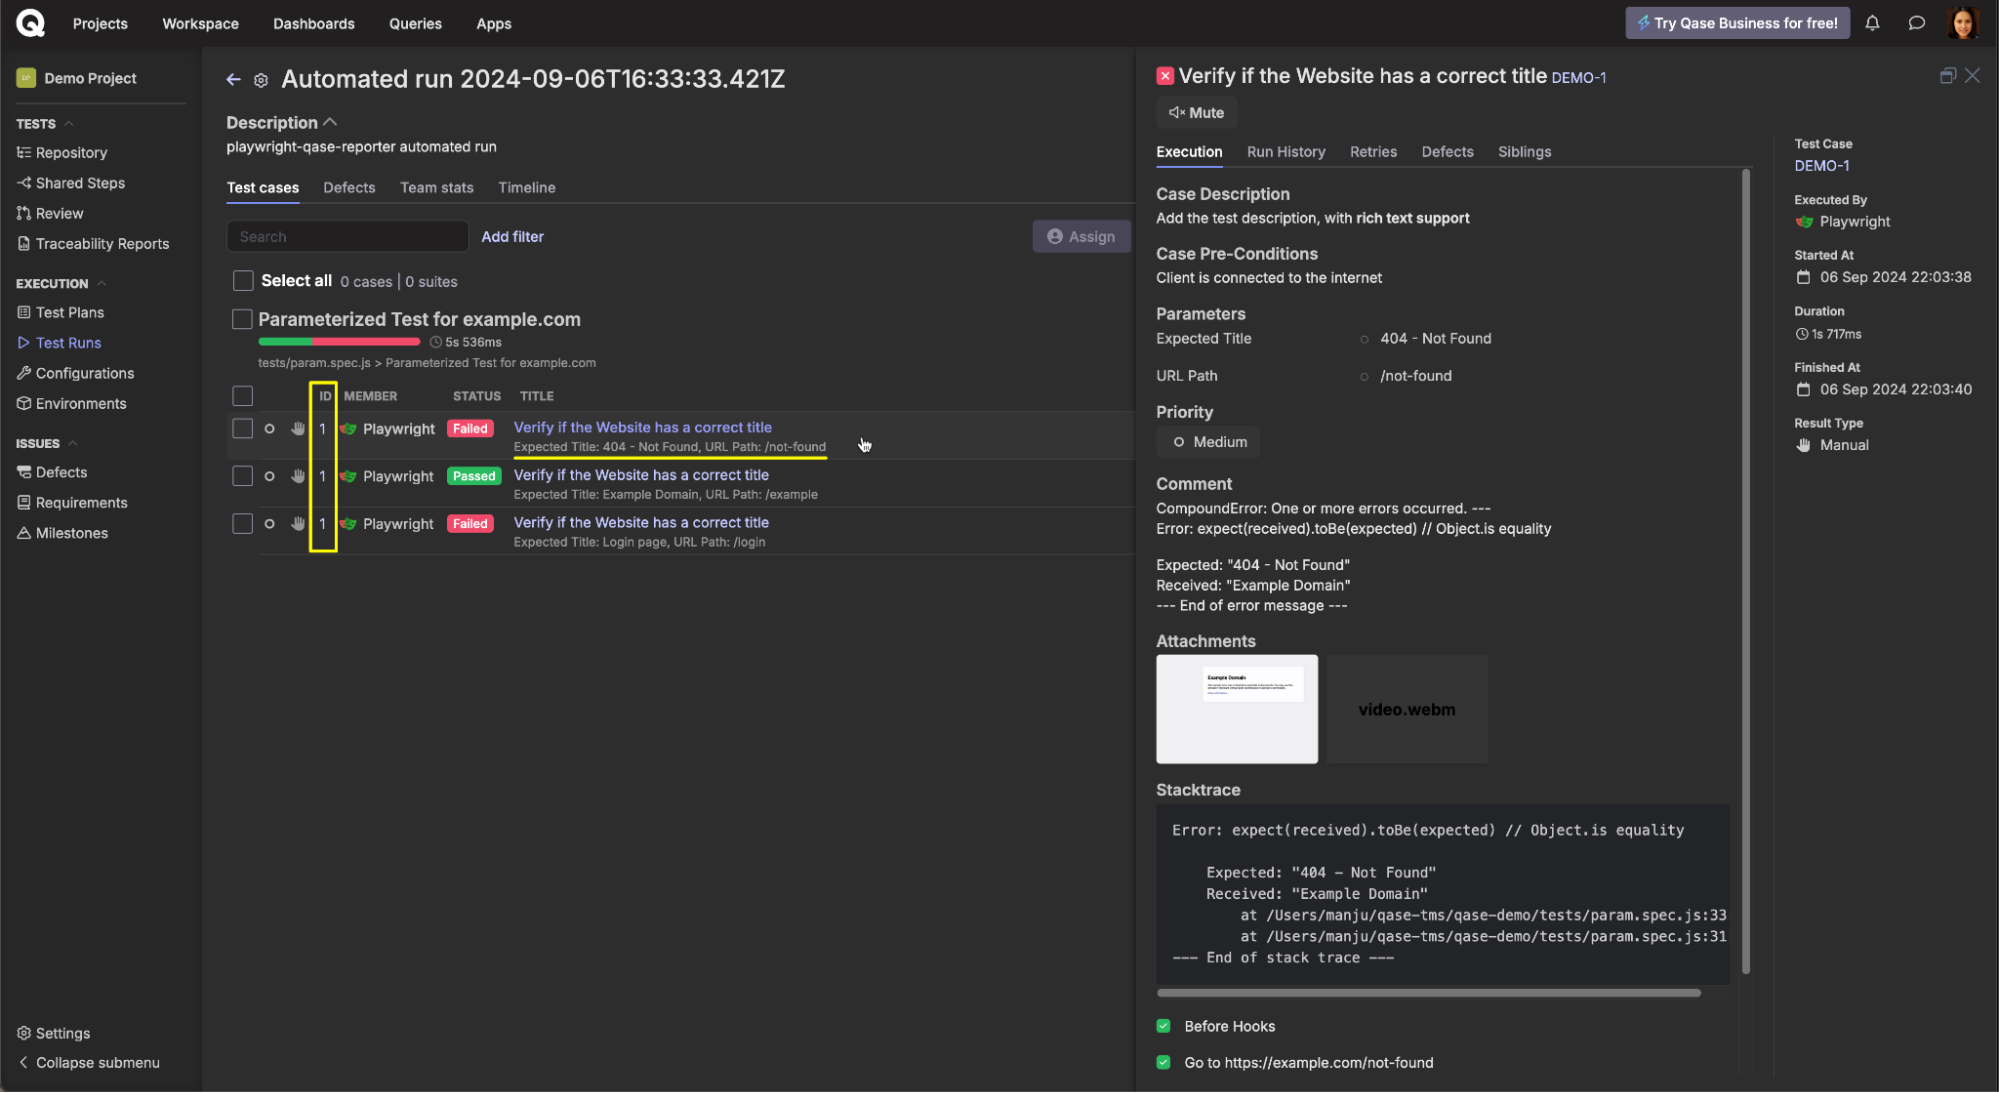
Your test run in Qase should look something like this:
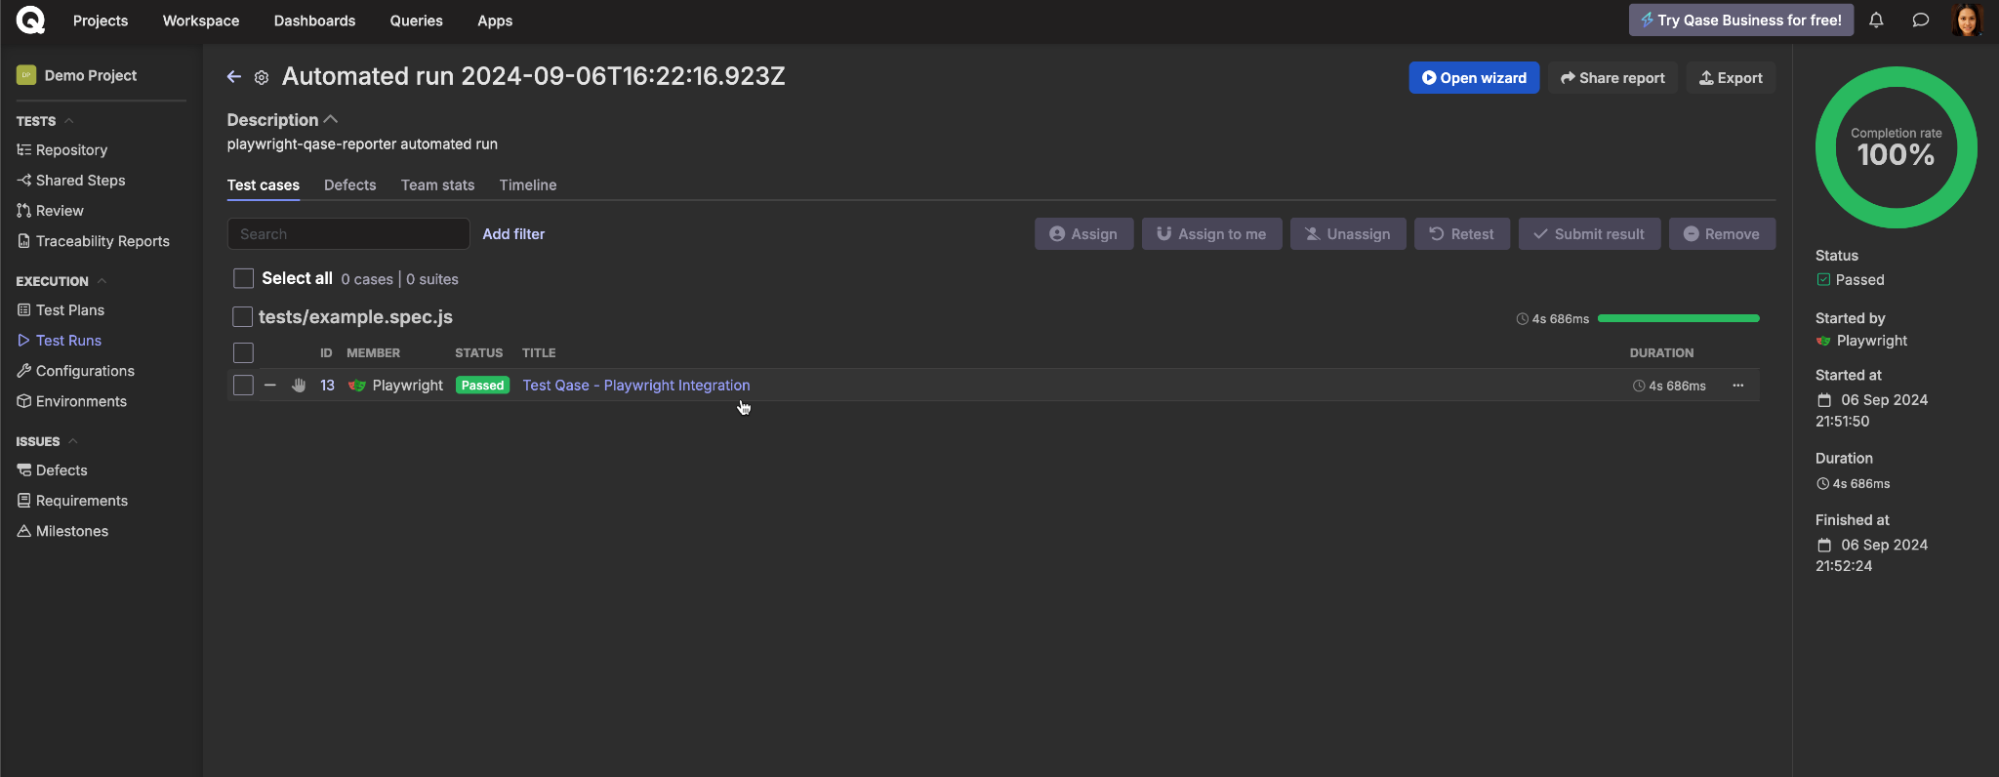
When the reporter posts the results to Qase, it will automatically create a new test case in your project repository. This behavior can be adjusted from your project settings.
Congratulations, you've successfully published your first result to Qase. But wait, there's more! You can also update these test cases directly through the code. Enable the “Update test cases” option under Automated test run settings, and choose to update cases for “All results.”
A permanent link between the tests in your project and in your code can be established using the case ID.
Managing test cases from code
To clarify the context of your test cases, you can add a description and preconditions to your test, along with other properties such as severity and layer.
Additionally, if your tests are parameterized, instead of creating a separate test for each data variant, the reporter will automatically update the test cases with parameters, avoiding duplication.
Here’s an example of a parameterized test:
import { test, expect } from '@playwright/test';
import { qase } from 'playwright-qase-reporter';
test.describe('Parameterized Test for example.com', () => {
const testData = [
{ urlPath: '/example', expectedTitle: 'Example Domain' },
{ urlPath: '/login', expectedTitle: 'Login page' },
{ urlPath: '/not-found', expectedTitle: '404 - Not Found' },
];
testData.forEach(({ urlPath, expectedTitle }) => {
test(`Verify if "www.example.com${urlPath}" has the correct title`, async ({ page }) => {
qase.id(1); // Replace 1 with an existing valid case ID from your project.
qase.title("Verify if the Website has a correct title");
qase.fields({
'severity': 'blocker',
'priority': 'medium',
'layer': 'e2e',
'description': 'Add the test description, with **rich text support**',
'preconditions': 'Client is connected to the internet',
});
qase.parameters({
'URL Path': urlPath,
'Expected Title': expectedTitle
});
await test.step(`Go to https://example.com${urlPath}`, async () => {
await page.goto(`https://example.com${urlPath}`);
});
await test.step(`Check if the page's title is ${expectedTitle}`, async () => {
const title = await page.title();
expect(title).toBe(expectedTitle);
});
});
});
});
Let's break down the test:
- qase.id() will bind the test with the given case ID.
- qase.fields() will update the Qase test case's properties, like severity, layer, etc.
- qase.parameters() will update the test case with parameters from your code.
- With test.step(), the reporter automatically recognizes the steps and updates your test case.
Save the test as param.spec.js and run it with npx playwright test tests/param.spec.js. Qase will automatically parameterize the test case.
For more information on configuration options and steps to integrate qase-playwright into your CI pipeline, refer to this collection of help docs.
RememberL Qase test runs can be shared with stakeholders through a public link! Click here to view an example of a full E2E test run.
Take advantage of Qase’s Playwright integration
By involving engineering teams in the testing process, Qase facilitates clear communication of problems to engineering teams and progress to management through insightful trend analysis.
This streamlined approach not only speeds up feedback cycles but also enables more strategic decision-making and continuous improvement.
Or, let AIDEN do it for you!
AIDEN (AI QA assistant) can transform your existing manual test cases into automated Playwright tests. Simply feed it your manual steps and AIDEN converts them into clean, executable automation code while preserving your original testing logic.


